
Wildlife photography is considered to be one of the most rewarding and the most difficult types of photography to master. Amazing photographs of wildlife can make any portfolio stand out and elicit a positive reaction from both non-photographers and seasoned professionals alike. However, novice nature photographers often don’t realize the amount of gear required to get that perfect wildlife shot.
Today, equipment has not only advanced but also become more affordable, so you start-up cost-effective and easy. Here are some tips on how you can get the best results that you’re aiming for.
Emphasize the subject
Make use of visual elements in order to draw the viewer’s attention to the important part of the picture. One of the effective tools for focusing interest on the subject is framing. You can either use the surroundings: tree branches, natural arches and windows, or you can arrange a number of visual elements around the subject. Sometimes the best solution is contrast between the frame and the subject. Another important factor is light: spotlighting or adding brightness behind your subject can draw the viewer’s focus. You can use the light to create silhouettes, depending on the time of day.
Get to know your subject
Since much of your wildlife photography is based upon catching the right moment, it is a good idea to be able to somewhat predict your subject’s behavior. Every animal species has a behavioral pattern that you can observe and learn about, even though it’s not always so easy to do. There is only one good way to do this, and that is to spend a lot of time with them. Be patient, sit with them and watch them closely. You can treat this as a project – take your photos and frame them into a story. Invest time in this project for an amazing outcome. A well-defined and successfully done project is a good way to get noticed.
Get to the subject’s eye level
The most effective wildlife photographs are those that create a connection between the animal and the viewer. The best way to get this effect is to take the photo at the subject’s eye level, which creates the illusion that the viewer is sharing a moment inside the subject’s world, instead of feeling like an outsider that is looking in. It is really important to get the eyes right. If the eyes are lost in shadow or out of focus, or worse, if the subject blinks or looks away, the connection between the viewer and the animal is severed, and the photography no longer has the same power.
Which camera type should you choose?
The best type of camera you could use for wildlife photography has to be the DSLR camera. Mirrorless cameras are easy to carry due to their smaller bodies, but often have fewer focal lengths which are native to wildlife photography available and their autofocus systems often can’t handle fast-moving subjects such as birds as effective as a DSLR would. You might be drawn to a full-frame DSLR, however, they can be quite expensive and Four/Thirds DSLRs and those equipped with the APS-C sensor actually have a slight advantage over them. Another factor to consider when getting a camera is a quick and large buffer, an appropriate continuous shooting speed and good low light shooting capabilities.
Lenses
The main requirement when it comes to choosing the right wildlife lens should always be the focal length, followed by autofocus accuracy and speed. Getting close to wild critters to get a good shot can prove itself to be very difficult and wildlife photography professionals often turn to long lenses. Most of them use 500mm, with the bare minimum for a good shoot being around 300mm. That said, some specialist use 600mm and even 800mm lenses to get the best out of their shoot.
The best thing to do is to get an action lens equipped with focusing range limiter, which prevents the lens from focusing down to a minimum focus distance when the subject is literally over a 30 meters away. Another feature you should look for in a wildlife lens should be the ability to manually set the focus while in autofocus mode. This ensures a quicker focus if you start with the focus manually parked around the subject, which can’t be done quickly if you need to switch to manual focus mid autofocusing in order to capture your subject.
Tripods
A steady camera is essential for nature and wildlife photography and a good tripod can stabilize a camera better than any photographer can. This is especially significant when you use long lenses where even the smallest camera shake gets magnified to the point of missing the subject completely. Make sure you get a sturdy tripod, as long lenses are often heavier than the camera itself and it makes more sense to mount a lens to the tripod instead of using the socket you find on the camera body.
Teleconverters
Teleconverters are used by photographers to raise the focal length of a lens, generally by 1.4 to 2 times. Unfortunately, they make the lens slower, so to speak, and reduce the overall quality of the image. The maximum aperture is reduced, and mounting a 2x converter on an f2.8 lens essentially makes it into an f5.6 lens. They also tend to slightly reduce the contrast, so it’s best you don’t use them in conditions with extremely flat lighting. This is why it’s important to use a converter specifically designed for a particular lens.
Bags and backpacks
Carry bags and backpacks aren’t only used to transport your equipment from point A to point B. They also protect them from the elements and keep away dust and dirt particles which damage the lens. The bag or the backpack needs to be big enough to store all your gear, including the long lenses without them bumping into each other during transport. Don’t go crazy with the colors, instead, choose a bag that blends with the background, or gets a camouflage pattern.
Straps
When it comes to straps, people either completely hate them or swear by them. If you use more than one camera at a time, especially during wildlife shoots is quite normal. Most wildlife photographers have one camera on the tripod, aimed at the point of interest, while the other camera is generally strapped around the neck, ready for a quick snap. Camera straps can also be used to stabilize the camera by strapping it to the shoulder, which really makes the job easier when you’re using a heavier and bulkier rig.
Wildlife and nature photography can prove itself to be extremely satisfying. Although having the right equipment is essential for capturing wildlife, there’s no need to get the latest and the greatest manufacturers have to offer and spend thousands of dollars for something that might only be a hobby. It’s best you get a solid, entry-level DSLR and focus only on getting a good lens to go with it. With some practical experience, you’ll quickly figure out what additional gear will shoot suit your style the best.
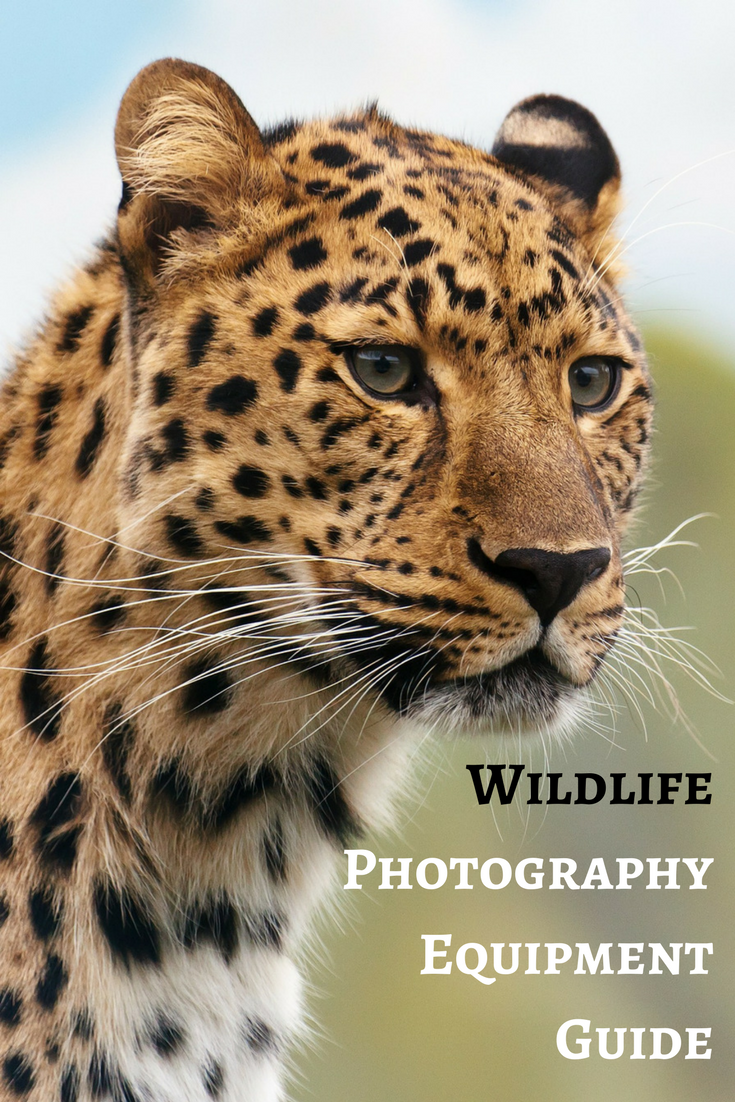
pin made using this Pixabay photo
More amazing articles for you:
Your Bucket List Adventure Awaits
100 Incredible Things to See in Spain: Famous Landmarks, Hidden Gems, and Unforgettable Places
Atlanta City Guide: Tips for Spending a Weekend in Atlanta with the Kids
Cat Café Budapest Review: Booking, Rules & What to Expect
What Shocks Americans Visiting Romania? 27 Surprises From a Local
Best walking graffiti tours of Toronto
Top Romantic Things to Do in Milwaukee
I’m Sick and Tired of These Airplane Incidents. Aren’t You?
Violeta-Loredana Pascal is a communications expert, business mentor, and the founder of Earth’s Attractions and PRwave INTERNATIONAL. A pioneer in the Romanian digital PR landscape since 2005, she holds a degree in Communication and Social Sciences from SNSPA Bucharest. Violeta is a senior trainer at AcademiadeAfaceri.ro, where she leverages over 20 years of experience to teach professional courses in PR strategy and workplace productivity. By blending high-level business consulting with a passion for holistic travel and wellness, she empowers solopreneurs to overcome procrastination, build profitable brands, and design a life of purposeful adventure.

